What is a Block Editor?
As mentioned in my overview of Opal Items, a block editor is a special type of What-You-See-Is-What-You-Get (WYSIWYG) text editor that lets you easily format text into headings, bold, italics, etc., as well as display inline images and other types of content.
The difference between Block Editors and other WYSIWYG editors is that content in block editors is stored as text-based markdown. The block editor then renders the text-only markdown, based on its unique syntax, into HTML blocks. This method keeps content looking clean and consistent while still allowing rich formattting options. Traditional WYSIWYG editors often store content in HTML, which requires extensive parsing and can get messy, fast.
Why Does Opal Use a Block Editor?
In simple terms, Block Editors keep your content clean and consistent. If you’ve ever used a traditional word processor, you know that formatting can quickly get out of hand. Oftentimes you’ll find yourself pulling your hair out trying to figure out why the spacing under one paragraph is not the same as the other, why you can’t move an image, why is one set of bullets indented more than another set, and so on.
Block editors mitigate all of this. The trade off is that you are more limited in formatting options, but for notes, short-form documents, and content you generally store in a knowledge management tool, the available formatting options are more than sufficient and the more rigid structure of notes is preferred.
(A special thanks to Blocknote and all its contributors. The block editor in Opal is driven by this open source project).
What is a Block?
A block on a Document’s page view (or other block-editor-enabled item type such as a Note or Link) is essentially a horizontal, invisible rectangle that has two icons next to it, in the left margin, that are only visible when hovering over the block or the cursor is active in the block:
Common Block Characteristics in the Block Editor
- Every block has these two icons, a
plusicon and a6-doticon. - There are multiple block types (more on this below)
- By default, every new block that is empty is a paragraph text block type.
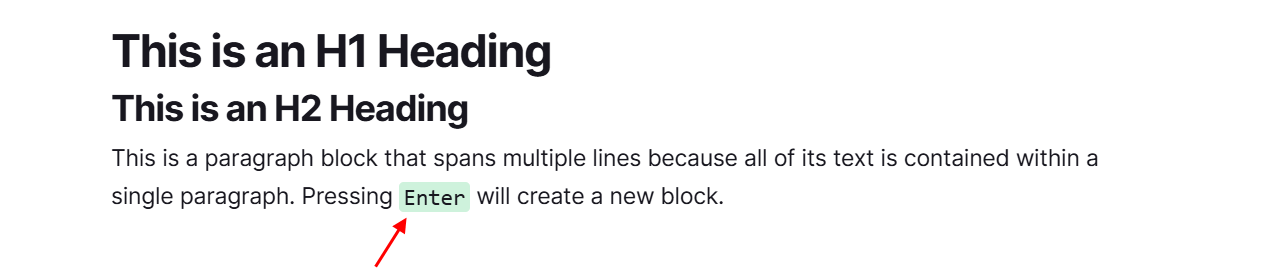
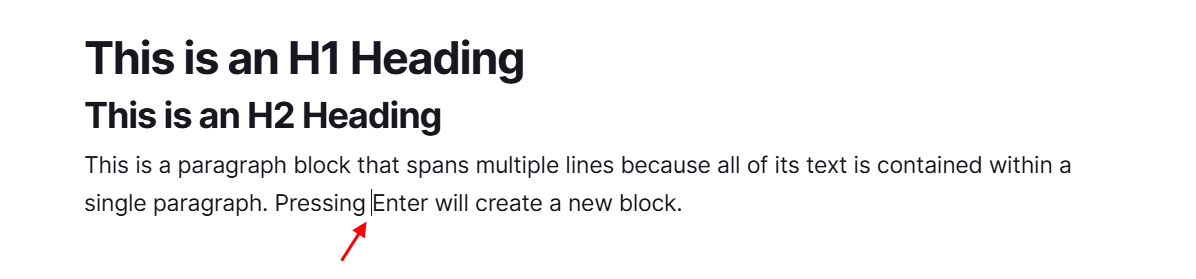
- Pressing the
Enterkey in a paragraph block will create a new paragraph and therefore a new block. One paragraph = One block. Likewise, pressing theEnterkey while in a Bullet List block will create a new Bullet, which is a new Bullet List block. - When a block is empty, the height of the block is the height of one line of text.
- The height of any block will increase as its content increases. For example, if you have a paragraph that’s 3 lines tall, then the block will be 3 lines tall. If you have an image that 200px tall, the block will increase in height to accommodate it.
- The
Plusand6-doticons are always aligned to the top of any given block, regardless of its height.
Changing the Block Type in the Active Block of the Block Editor
There are two methods to changing the block type in an active block of the block editor:
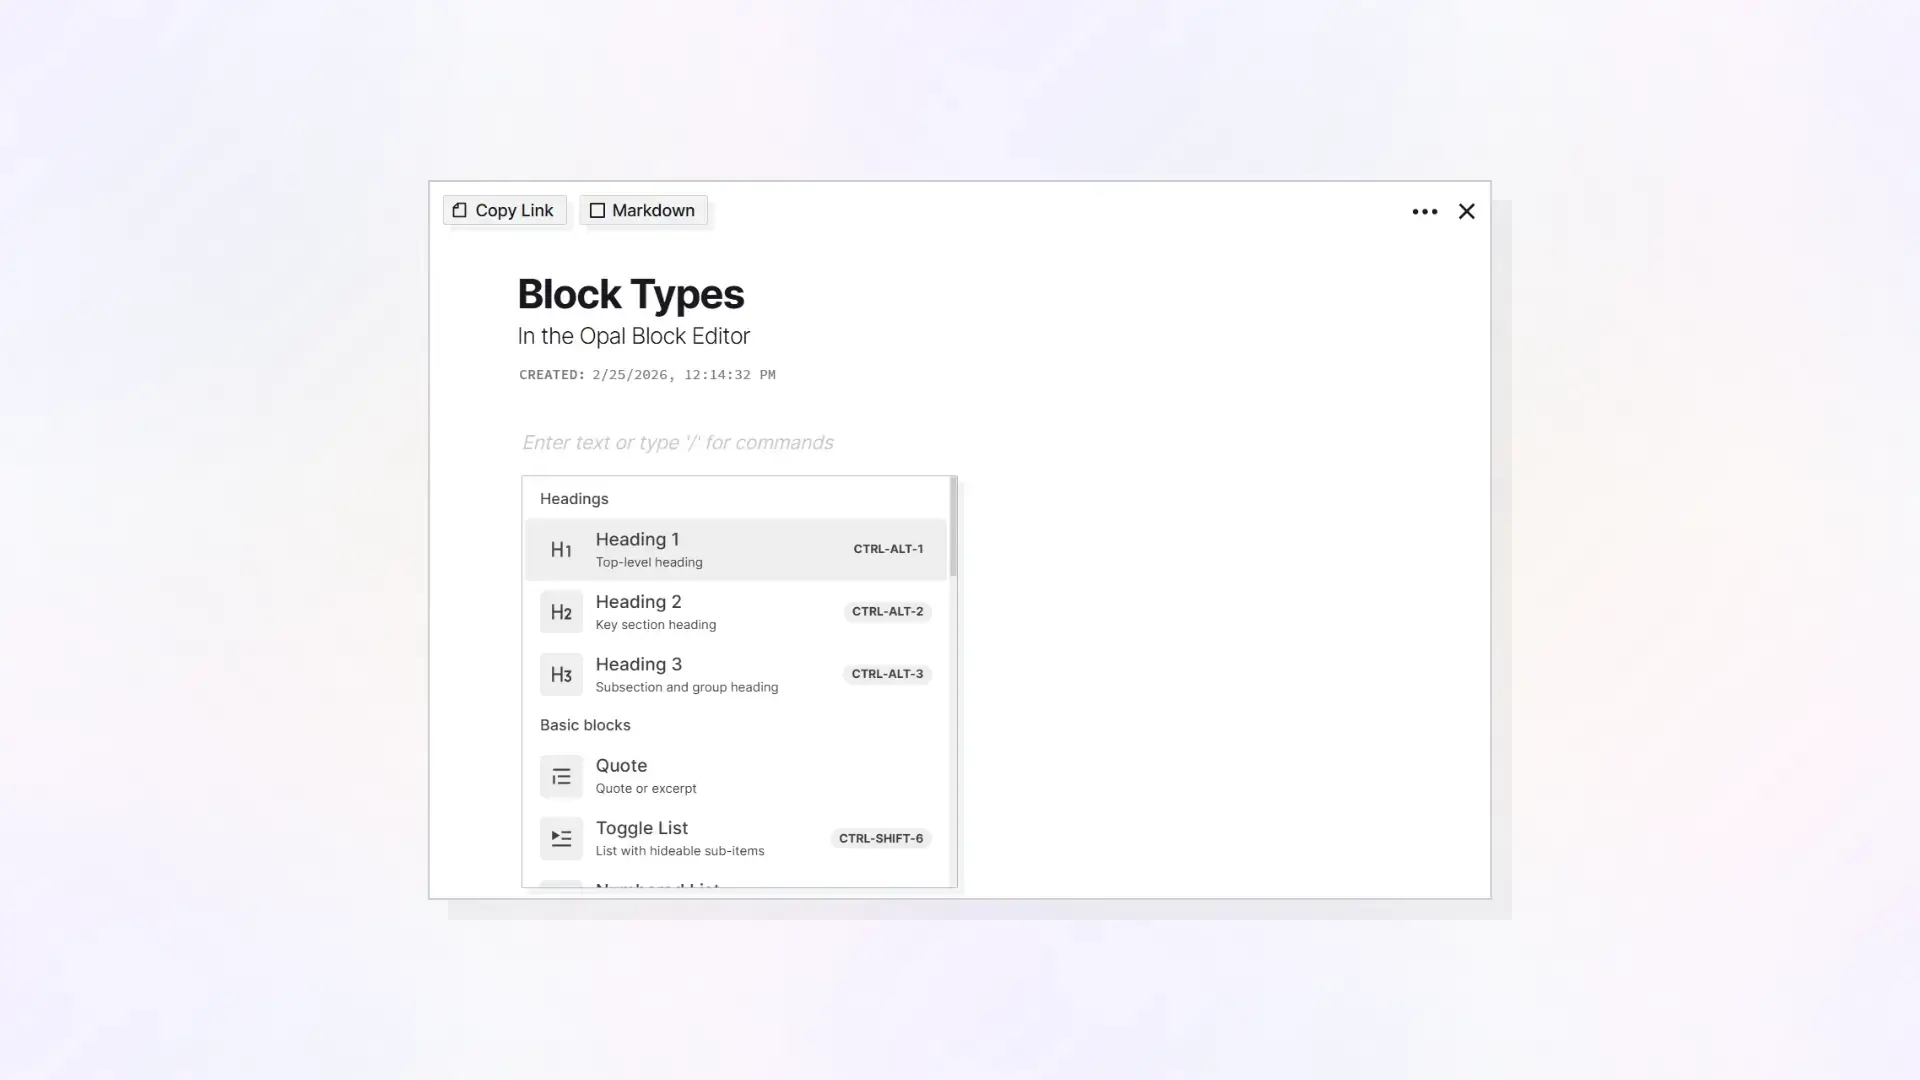
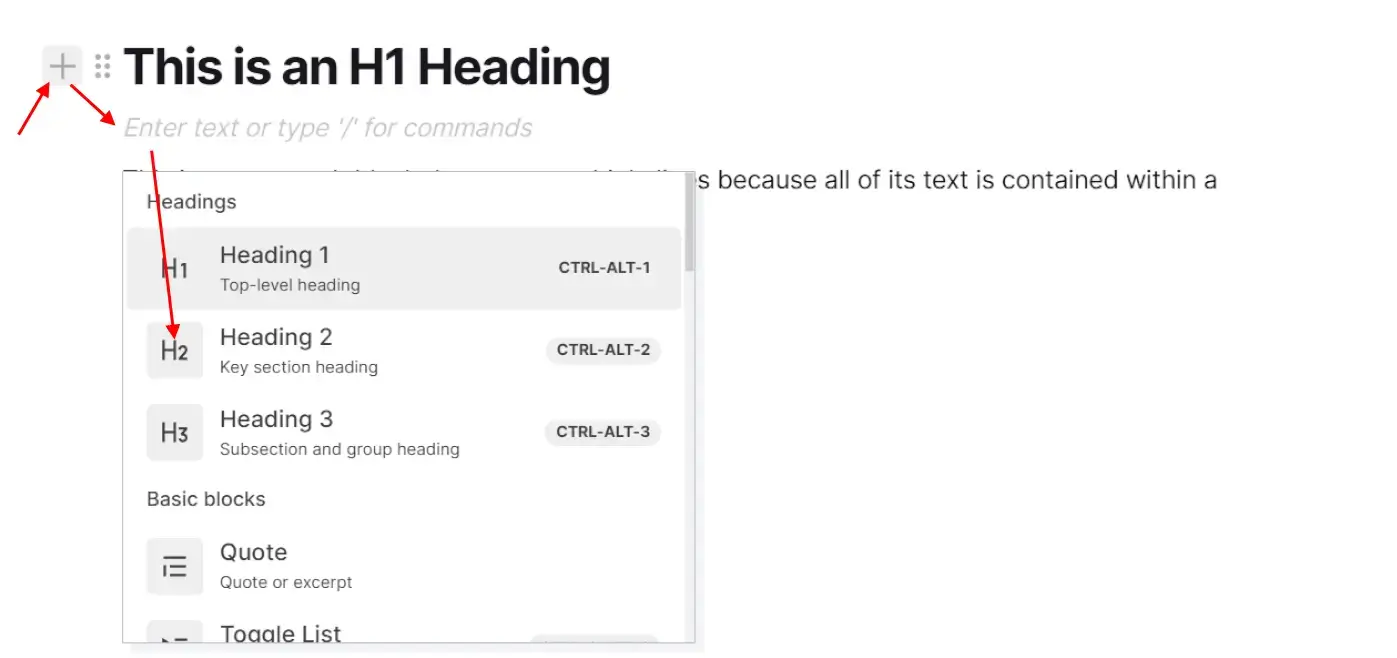
- While your cursor is in an empty block, type a forward slash
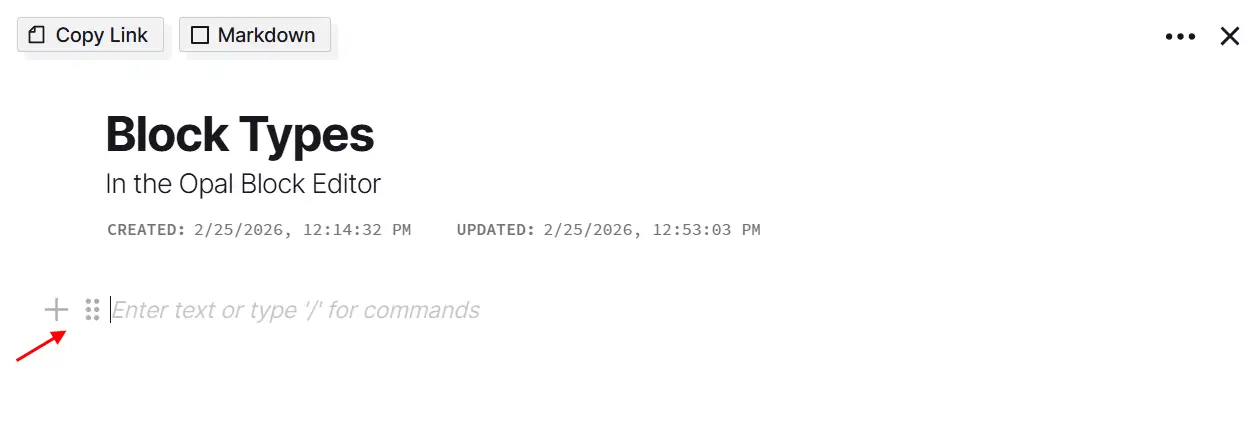
/ - Hover over an empty block and click the
Plusicon
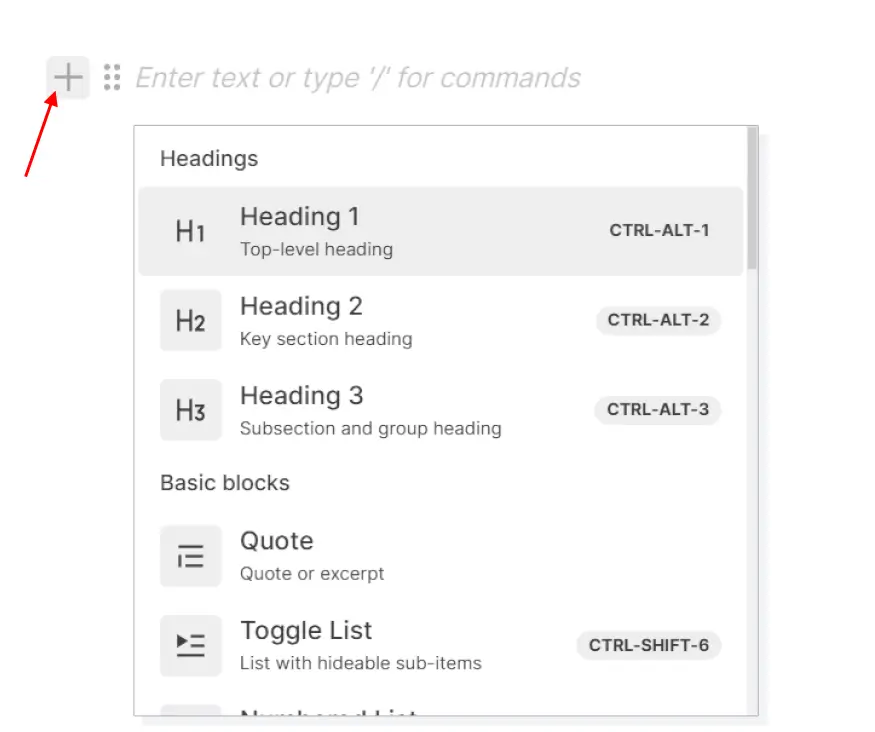
Either method will display the block type selection menu. From here, you can select the block type you want and the current block will change to the new block type. In the example below, the block type was changed to an H1 heading.

Editing Text in the Block Editor
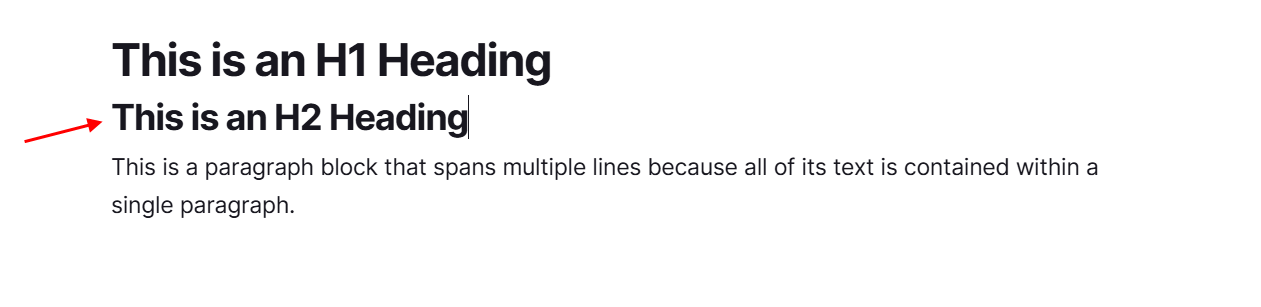
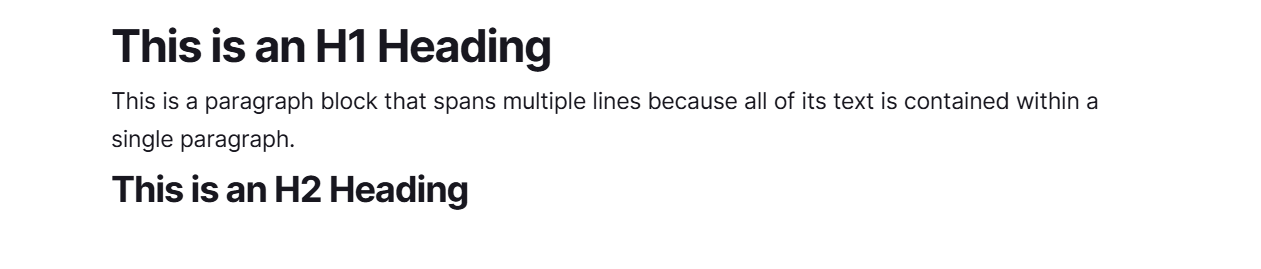
With the cursor active in the H1 heading block, type some text to create the heading, then press Enter to create a new block.

Notice how the new block defaults to the paragraph block type. This is because it’s expected that you will likely not need two H1 Headings in a row, so the block editor will default to paragraph text upon pressing enter while in any heading block.
Type some plain text in the newly created, default paragraph block.

Adding New Blocks Inbetween Other Blocks
If the Plus icon is clicked on a populated block, and a new block type is selected, instead of changing the empty block into a new block type, it creates a new block below where you clicked the Plus icon:
So, the Plus icon allows you to insert new blocks of your choice, inline, inbetween existing blocks.
Deleting, Moving, OR Changing the Text and Background Colors of an Entire Block
Deleting a Whole Block
To delete a whole block and all its contents, click the 6-dot icon next to the block and select Delete:
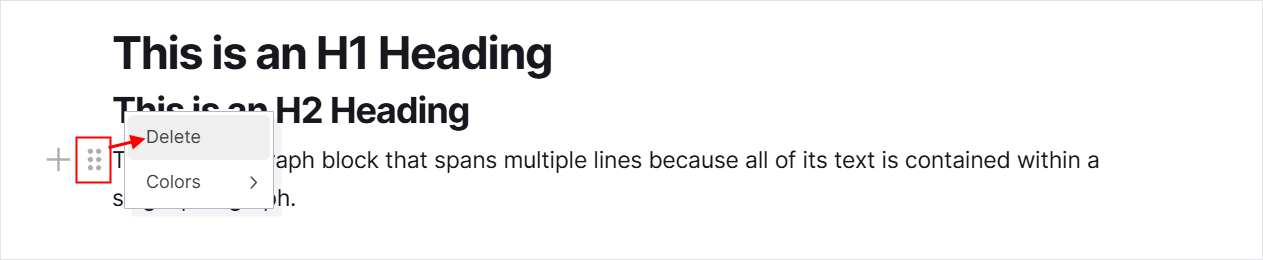
The block content is removed:

Moving Blocks
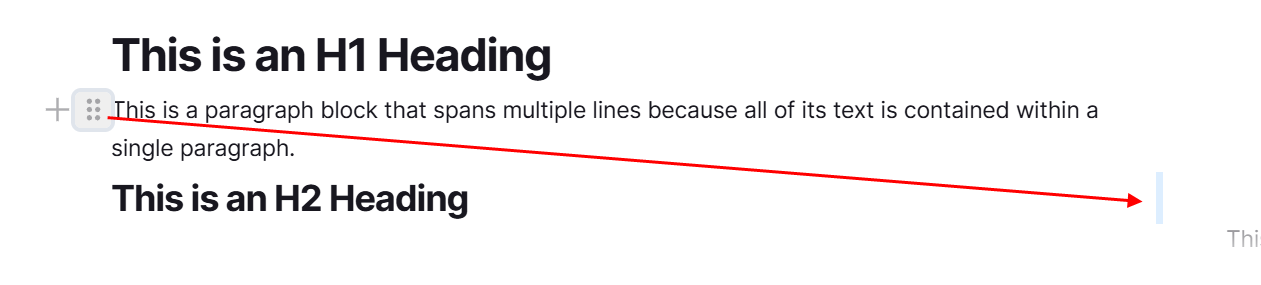
Click and drag the 6-dot icon of the block you want to move, and then drag it to the position within the block editor you want it to reside. A light blue line will appear as you are holding the mouse button (or drag on mobile) to indicate where it will be positioned upon release:
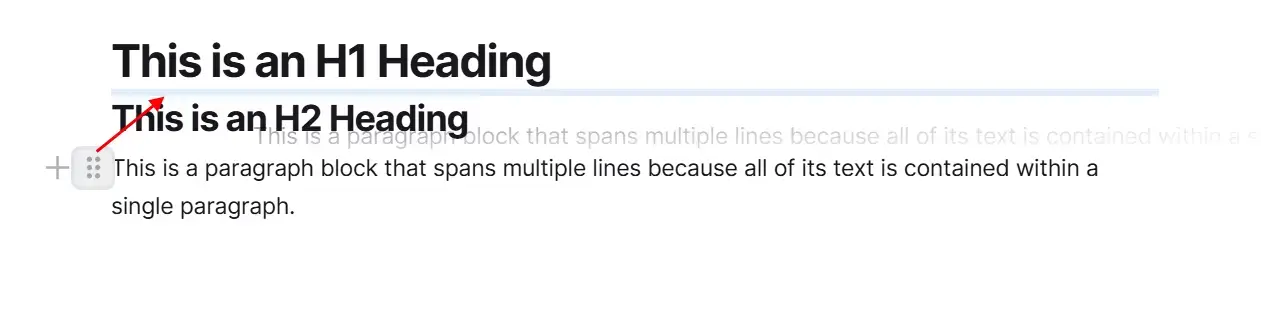
Release the mouse button or your finger on a touch device to complete the move:
Dragging Blocks to Create Multiple Columns
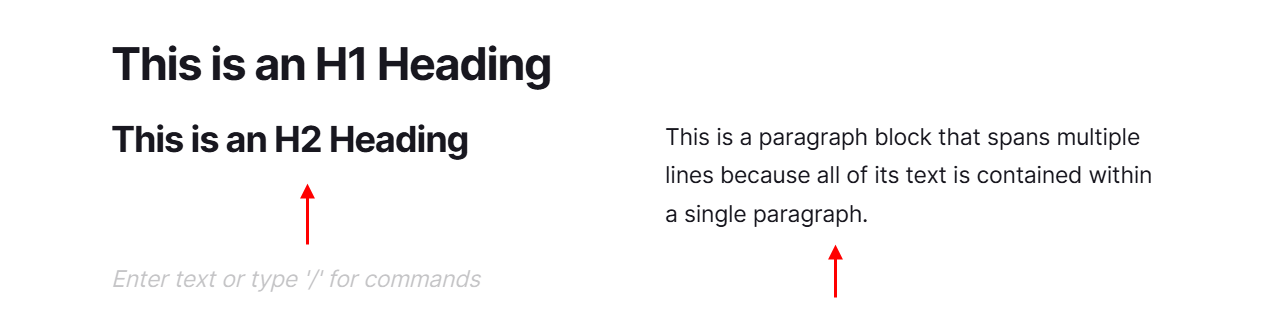
The drag block functionality is also the method for creating multiple columns. Drag a block and position it to the right of an existing block to create an additional column. When the light blue line is vertically oriented and next to an existing block, this indicates that an additional column will be created:
Release the mouse button or your finger on a touch device to move the block AND create the additional column:
Changing the Text and/or Background Color of an Entire Block
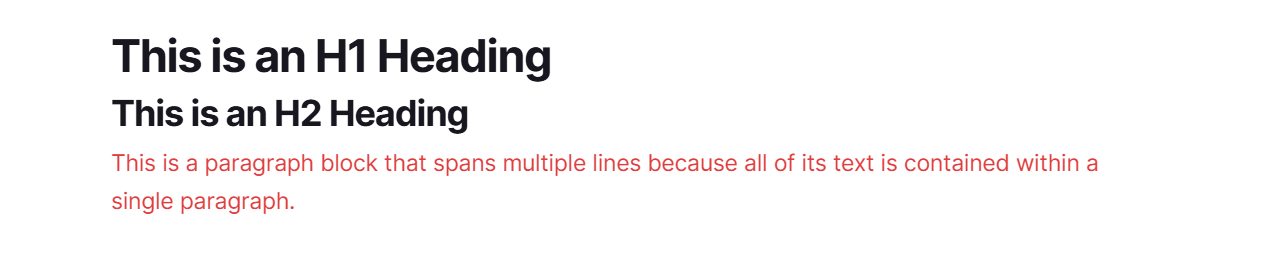
Click the 6-dot icon next to a block of text, select color, then choose either a different text color or background color:

The text color is changed:
Inline Text Formatting Tools
By selecting a single word or phrases within a paragraph block or heading block, the text formatting toolbar will appear, which lets you format the selected text:
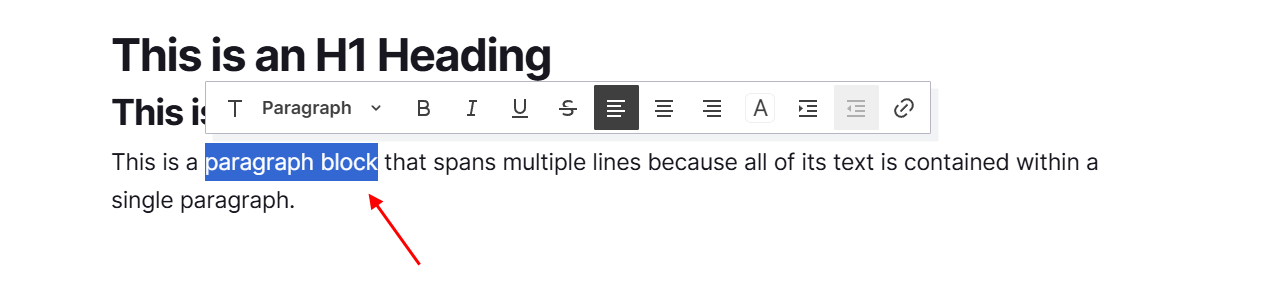
Formatting options that only change the selected text:
- Bold
- Italic
- Underline
- Strikethrough
- Text Color
- Background Color
- What text is hyperlinked
Formatting options that will change the entire block, regardless of how much text is selected:
- Block type
- Indentation
Inline Text Formatted as Code
This feature is not native to the Blocknote functionality, but as an extension added by Opal.
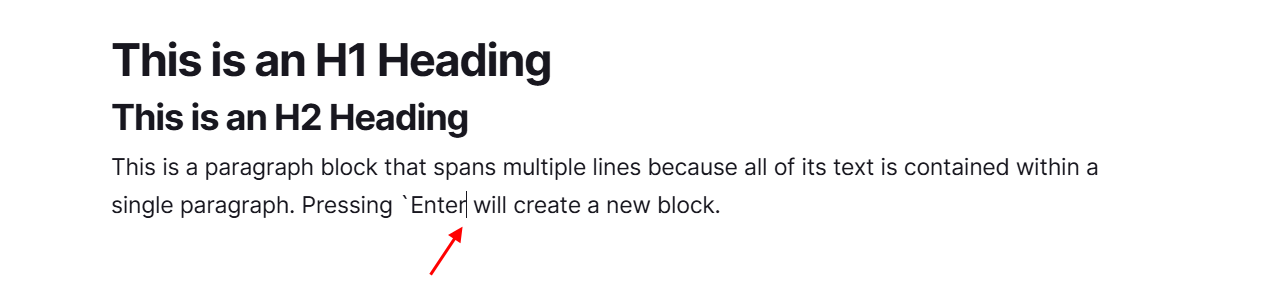
If text is wrapped by the backtick character, the inline text will be formatted with a monospace font and a green background.
Position the cursor at the beginning of a word:
Press the backtick characer (left of the 1 on your keyboard). Then position the cursor at the end of the word or phrase:
Then enter an additional backtick character to complete the loop. The word or phrase will be wrapped with the inline code styling: