You will see a grid in the background, but at this moment, you will not be able to create items or do much of anything since you don’t have a workspace created.
As mentioned in the previous help doc, a workspace is like a big visual desk, and depending on your plan, you can have multiple desks. But you may or may not want multiple “desks”.
What do I mean?
An Important Consideration
If you are on the free plan, you can only have one workspace. Some users prefer to have multiple workspaces, however, other users prefer to put everything on a single workspace, regardless if it’s for work, personal, etc.
If you need cleaner data separation between projects, you may prefer to have more than one workspace, but keep in mind that it can be a minor nuisance if you have to switch between workspaces frequently (context switching has costs).
If you keep everything on a single workspace, you don’t have to load different workspaces to access your different kinds of saved content, but you may find yourself re-arranging your all-in-one workspace more frequently and it may take a few extra seconds to load 1000+ items. So, choose your path.
Why Would You Want Cleaner Data Separation?
Right now, the two choices come down to your personal preference. When viewing a workspace, do you want to see EVERYTHING, or just stuff related to a BIG project or your just your business? That’s it.
However, the goal for the future is to be able to add team members to an entire workspace. This feature doesn’t exist yet, but when it does, you may want to have your content ready if you plan to share an entire workspace with others. This is something to keep in mind.
Right now, users can share individual items. The next iteration of sharing will be sharable fences. The iteration to follow will be the sharing of entire workspaces.
Create Your First Workspace
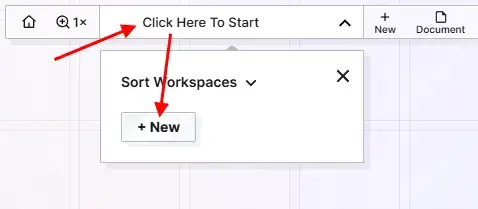
At the top of the screen, you’ll see a message that says “Click here to start“. Click there to open the Workspace menu and then click the New button to create a new workspace:
A modal lightbox window with a form will appear that will let you create your first workspace.
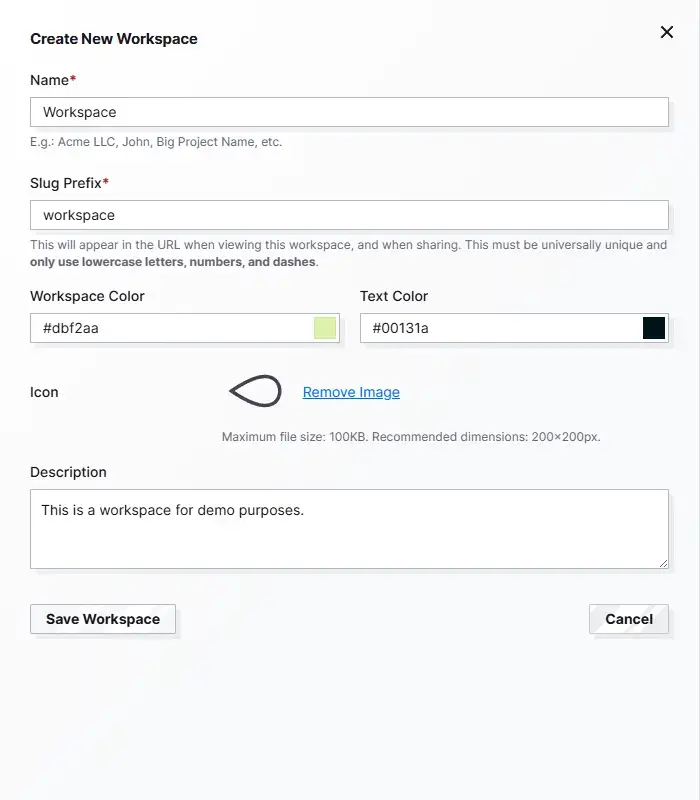
- Name: The friendly name of your workspace. This can be your name, the name of your business, the name of your big project, whatever you want it to be.
- Slug Prefix: This is what will appear in the URL in the browser’s address bar while viewing a specific workspace. In the future, this will also display in the URL in the browser’s address bar when viewing published items. This must be universally unique, so once a user obtains a slug prefix, no one else can have it.
- Workspace Color: Use the color picker to select the background color of the workspace menu button.
- Text Color: Use the color picker to select the color of the text on the workspace menu button. Make sure the text color remains readable when overlaid on the workspace background color. Think of the colors as a little bit of branding to differentiate between multiple workspaces.
- Icon: You can upload an icon image to your Workspace to further differentiate it from other workspaces. It’s recommended that the dimensions be 200×200 px and it must be fewer than 100KB in size. Use tinypng.com to compress your image if you need (or to make them load faster).
- Description: A short description for what your workspace is for. As of now, this description doesn’t show up anywhere else, but it may display in other parts of the interface at a later time.
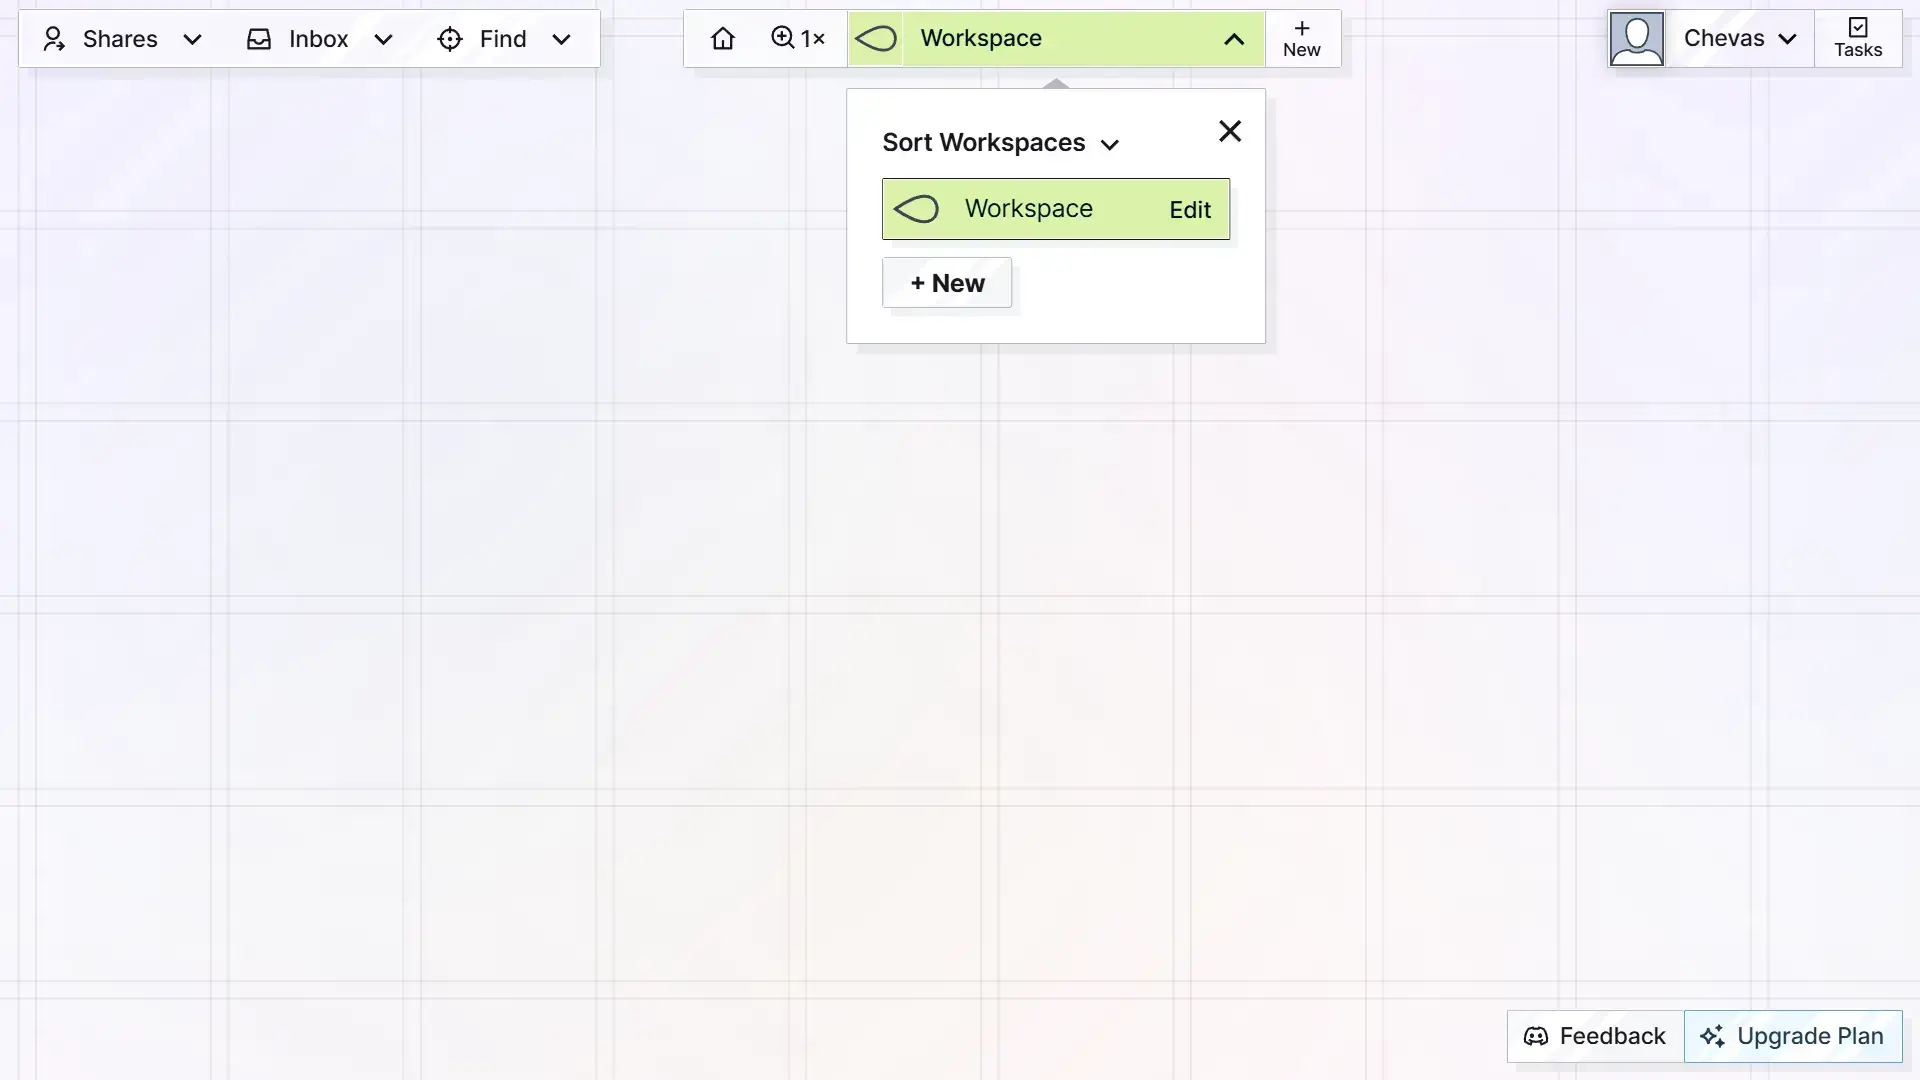
Click the Save Workspace button and then the window will hide and your workspace will be automatically selected:
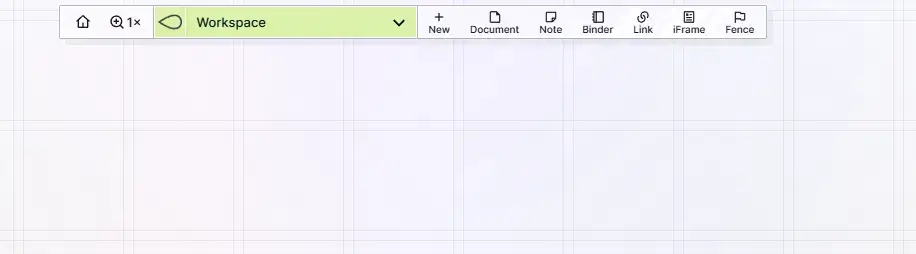
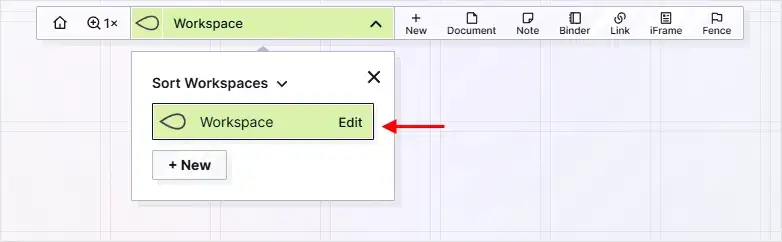
If you click on the Workspace name at the top, it will open the Workspaces menu. From here you can:
- Click the Edit button text ON any existing workspace edit its details listed above
- Create additional workspaces as your plan allows
- Drag and drop to re-order multiple workspaces.