In order to create items, you first have to have at least one workspace and one must be selected. If you haven’t yet, create a workspace.
Depending on your screen size, you will see one of two different menu bars at the top middle of your screen:
On Larger Screens:

On Smaller Screens:

When on larger screens, you have the option to create items in two different ways. When on smaller screens, you’re limited to just one.

Method 1: Creating Items with the +New Button
This method works on both larger screens (desktop/laptop) and smaller screens (mobile).
Click the +New Button to bring up the New Item Menu:
Click on the button that displays “Documents” to view the item type menu:
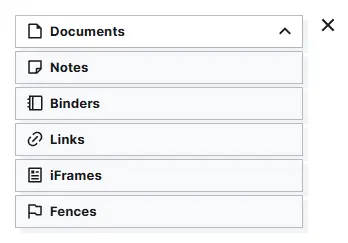
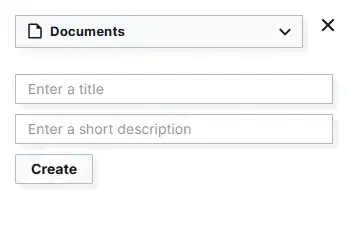
There are currently six content types, with more to come. Whichever one you select, that will remain selected by default until you change it. For now, let’s leave it set to Documents, so click Documents.
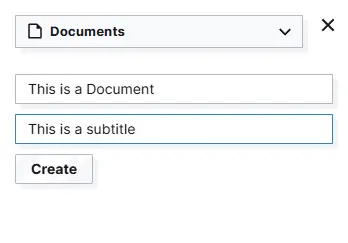
Type in a title and subtitle for the item. The title is required from this menu (this requirement will be removed soon) and the subtitle is optional:
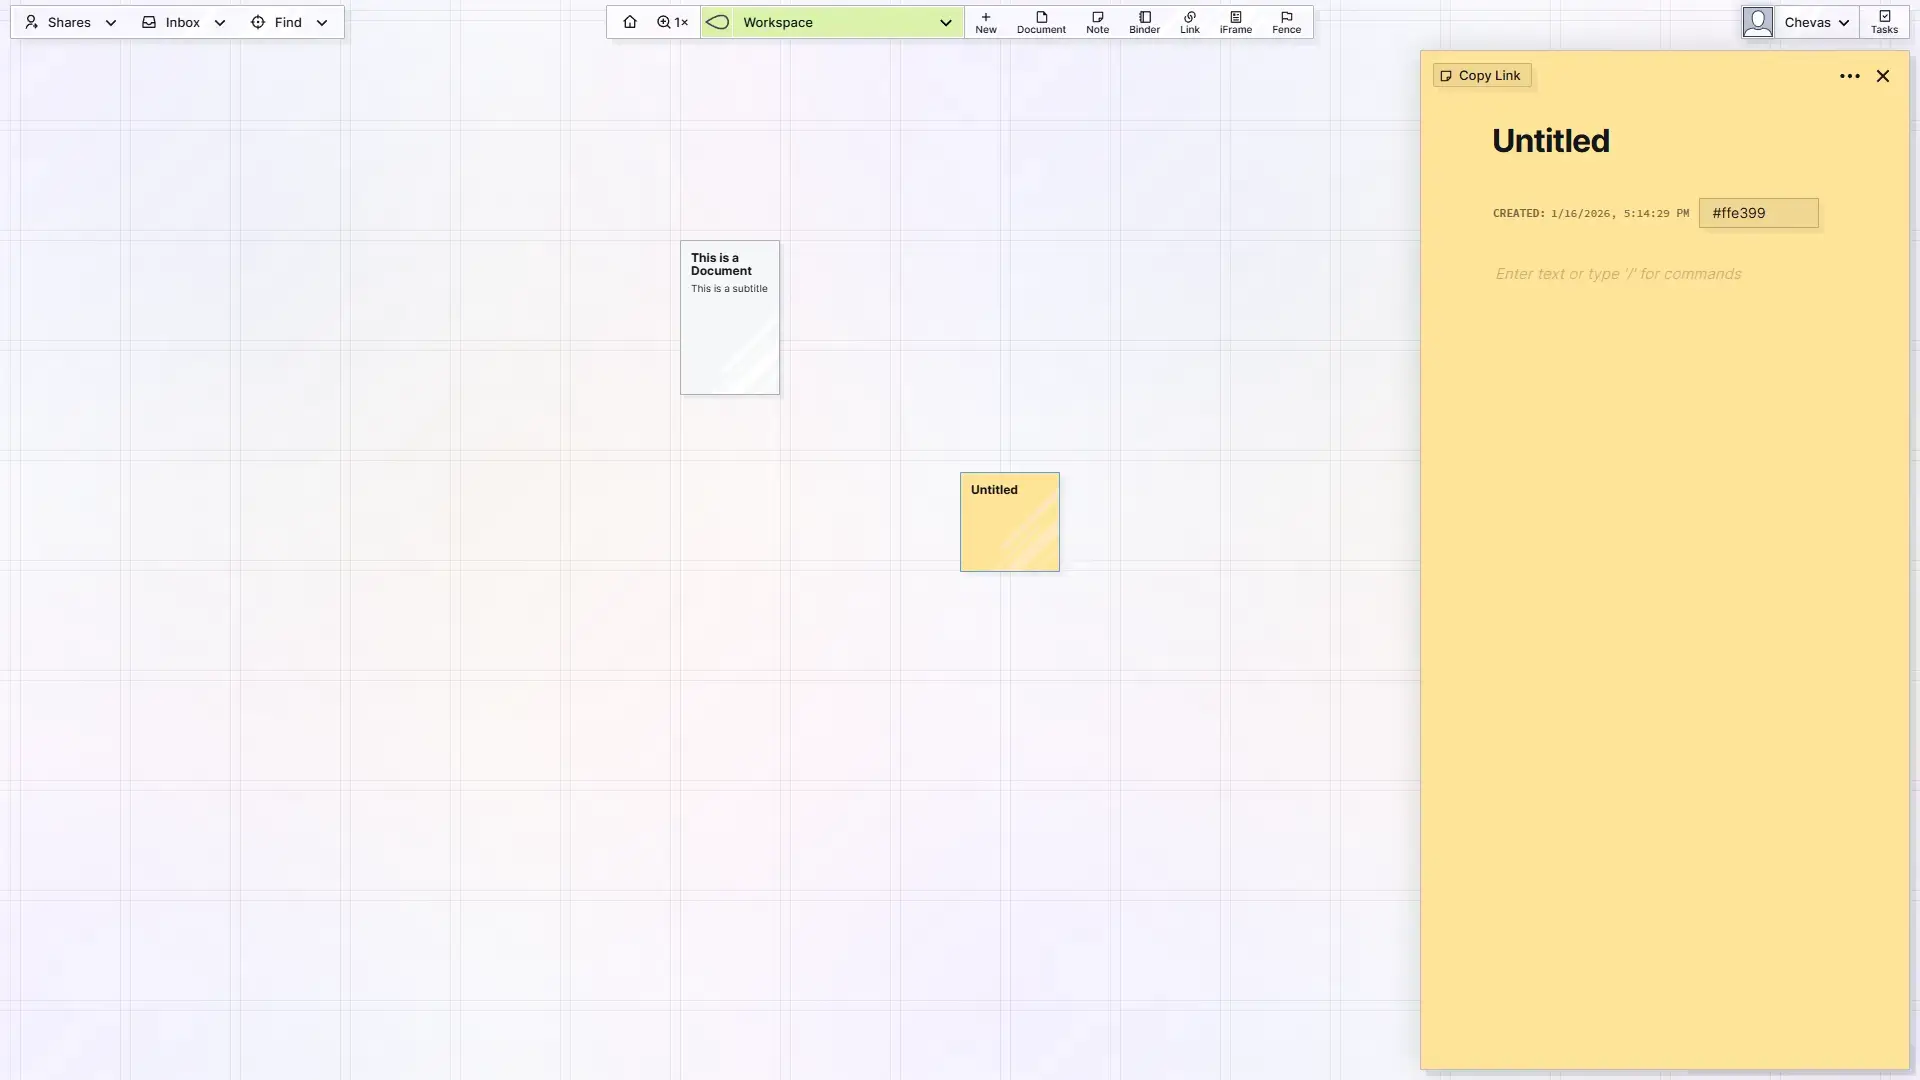
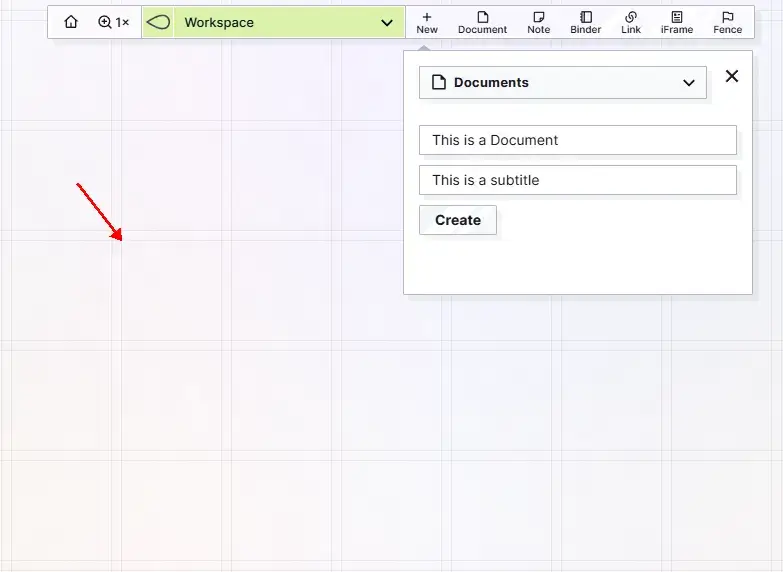
Now you have two choices. If you click the create button, the Document will be created with your title and subtitle and then the item’s top left corner will appear directly in the middle of your screen.
Alternatively, you can click anywhere on the workspace and the item will be created there. Click somewhere on the workspace:
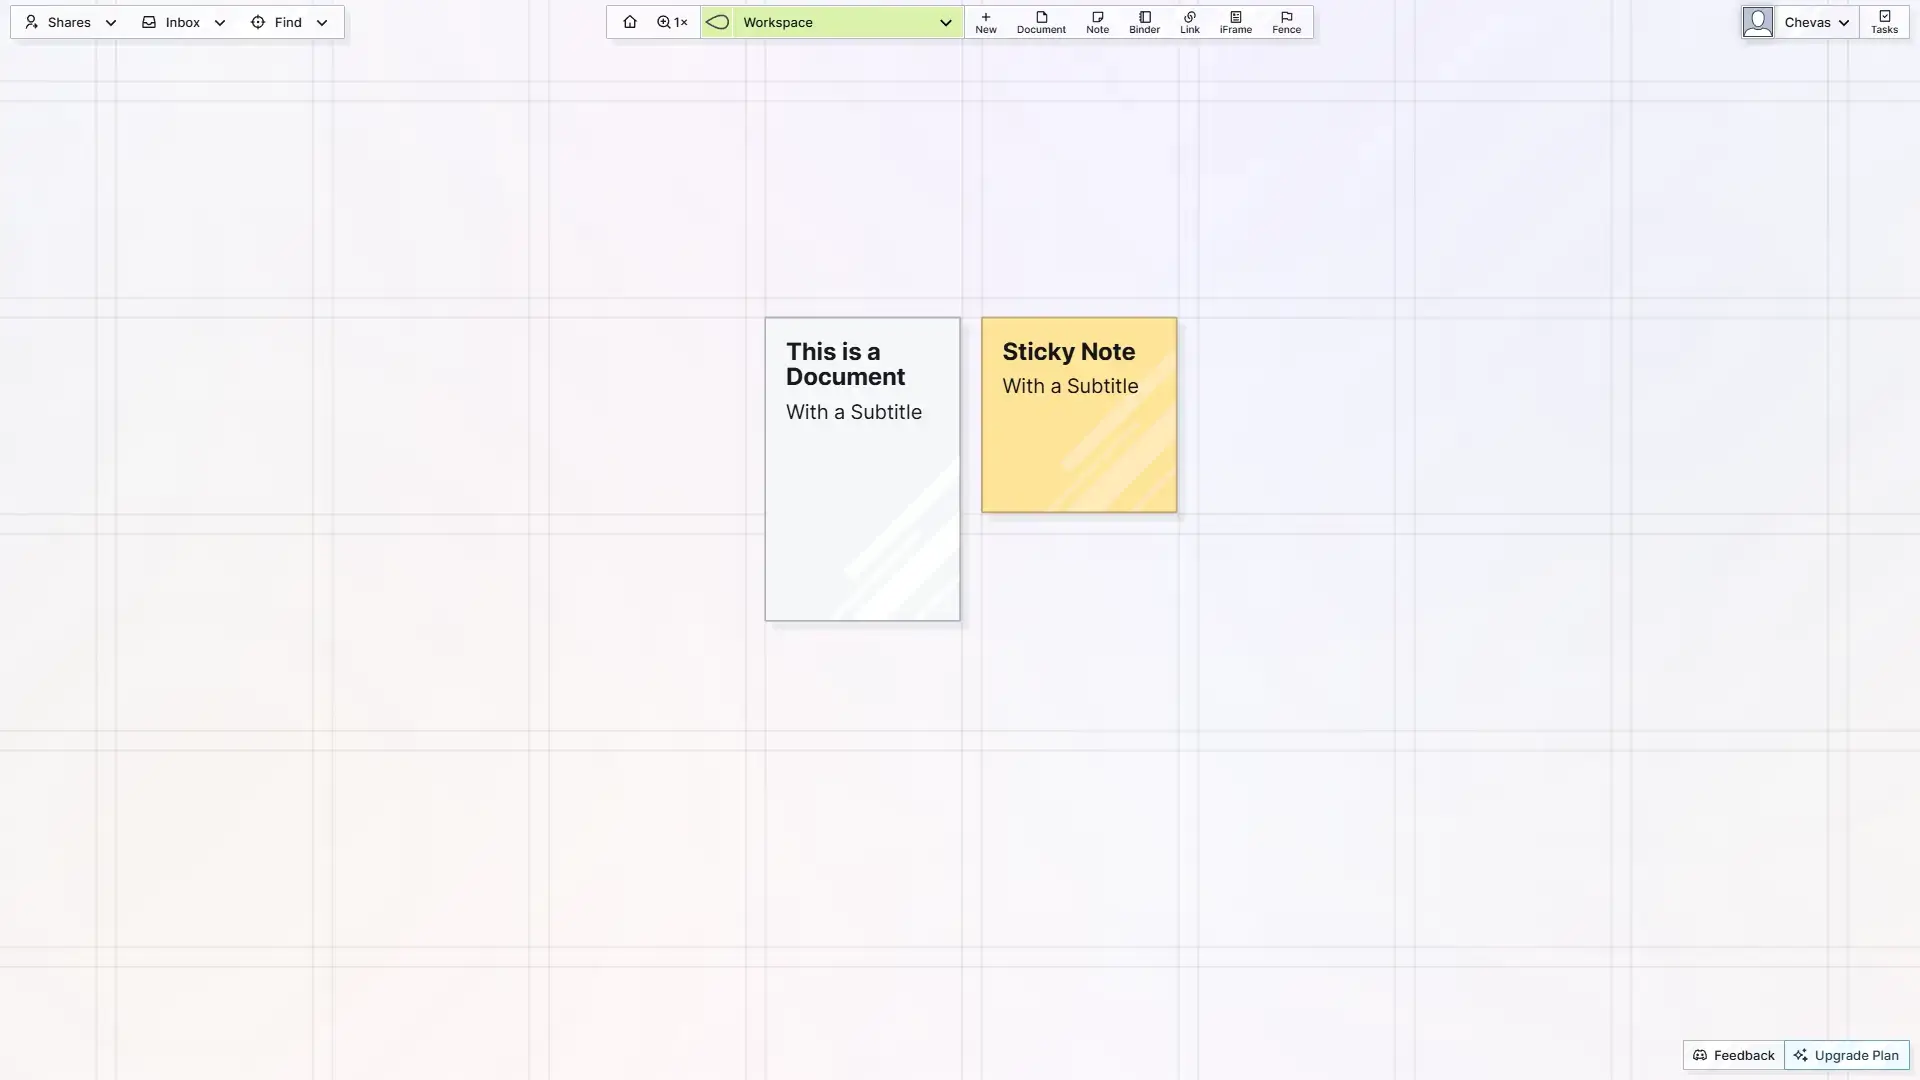
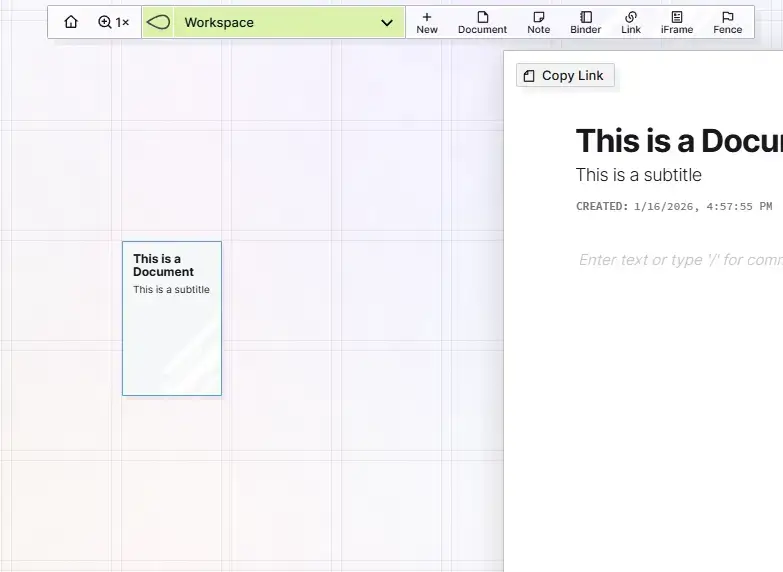
Result:
- The item is created
- It will appear where you clicked
- It will have the title and subtitle you specified
- The item will automatically be opened
Method 2: Creating Items with the Content Type Buttons
If you’re not currently on a larger enough screen, you’ll have to come back to this method later.
Close the document that was created.
Click the “Note” content type button.

Result:
- The item is created
- It appears in the middle of the screen
- The title reads “Untitled” and the subtitle is empty
- The item is automatically opened