Panning Around Your Workspaces
Desktop/Laptop
Windows/Linux: Hold the middle mouse button (mouse wheel) and move your mouse to pan around the workspace.
Apple MACs (or if you don’t have a middle mouse button): If you don’t have a middle-mouse button, then you can hold CTRL + left mouse button, then move your mouse to pan around the workspace.
Important: Holding the CTRL key while your mouse cursor is hovering over the workspace will activate the pan functionality, regardless if you’re on a MAC or Windows, which is indicated by the mouse cursor changing to a hand, like this:
When you release the CTRL key, the mouse cursor will revert back to the default view. On occasion, the pan mode will get stuck (which is rare, and is a bug we’re working on). If you notice that you can’t open an item, chances are the mouse cursor is the hand icon and stuck in pan mode. Simply press CTRL once and you will exit pan mode.
Touch Devices (Tablets, Phones, etc.)
Simply touch the screen and drag your finger to pan around the workspace. As long as you begin moving your finger relatively quickly, you can touch on an item and drag and the item will not load.
If you single tap and release on an item instead of dragging, the item will open, as mentioned in Moving and Positioning Items on a Workspace.
The touch interactions are intuitive, as you’d expect.
Zooming
Wherever your mouse cursor is at the time of zooming, this will be the focal point of the zoom.
Desktop/Laptop
Windlows/Linux: Simply scroll the mouse wheel to zoom in and out.
Apple MACs (or if you don’t have a mousewheel): Hold the CMD key + left mouse, then move your mouse to zoom in and out.
Touch Devices (Tablets, Phones, etc.)
Use two fingers to pinch on the screen to zoom. Pinching your fingers together zooms in. Spreading your fingers further apart zooms out.
Home and Reset Zoom
Home
Clicking the Home button will automatically pan the workspace so that the middle of your screen is set to the x,y coordinates of 10,000 × 10,000, which is in the middle of the workspace grid AND set the zoom to 100%.

Zoom 1× Button
Clicking the Zoom 1× button will maintain your current position in terms of panning, but wherever you are, it will set the Zoom to 100%.

Automatic Saving of Positions
Opal automatically saves the current position your viewport has panned to and the current zoom level your viewport is set to, per workspace.
If one workspace is panned to the right and zoomed out, when you return to that workspace, that is the view you will return to. Likewise, if a separate workspace is zoomed out and near the home coordinates, that is the view you will return to when you load that workspace.
Pan to Item
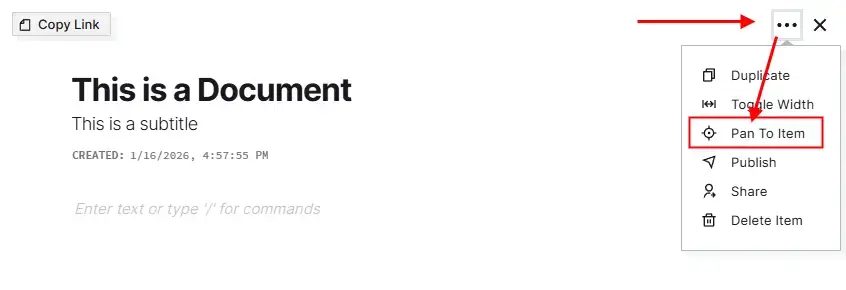
If you have an item open, but you pan away from its location on the workspace grid, you can select the 3-dot menu icon on the menu and choose Pan To Item to automatically pan the workspace so the item is in the center of the screen.
Find Tool
If in case you can’t visually find an item on your workspace, you can use the Find tool to locate it. To find an item, click the Find Tool on the top left menu:
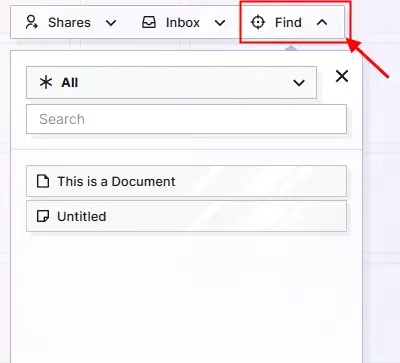
The Find tool will list every item in the workspace. To filter the list by item type, click the chevron next to the All button, then select an item type:
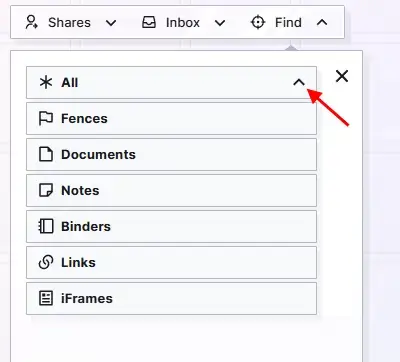
Use the search field to filter the list with what you type. The search field only reads item titles. The search field and Item Type filter work in conjunction, so if you have an item type selected, the search field will only display results that belong to that item type:
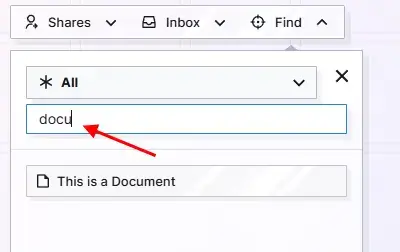
(Notice only the item with a title that contains the “docu” string is visble in the list).
Click on the name of an Item and the Workspace will automatically pan so that this item is in the middle of your screen:
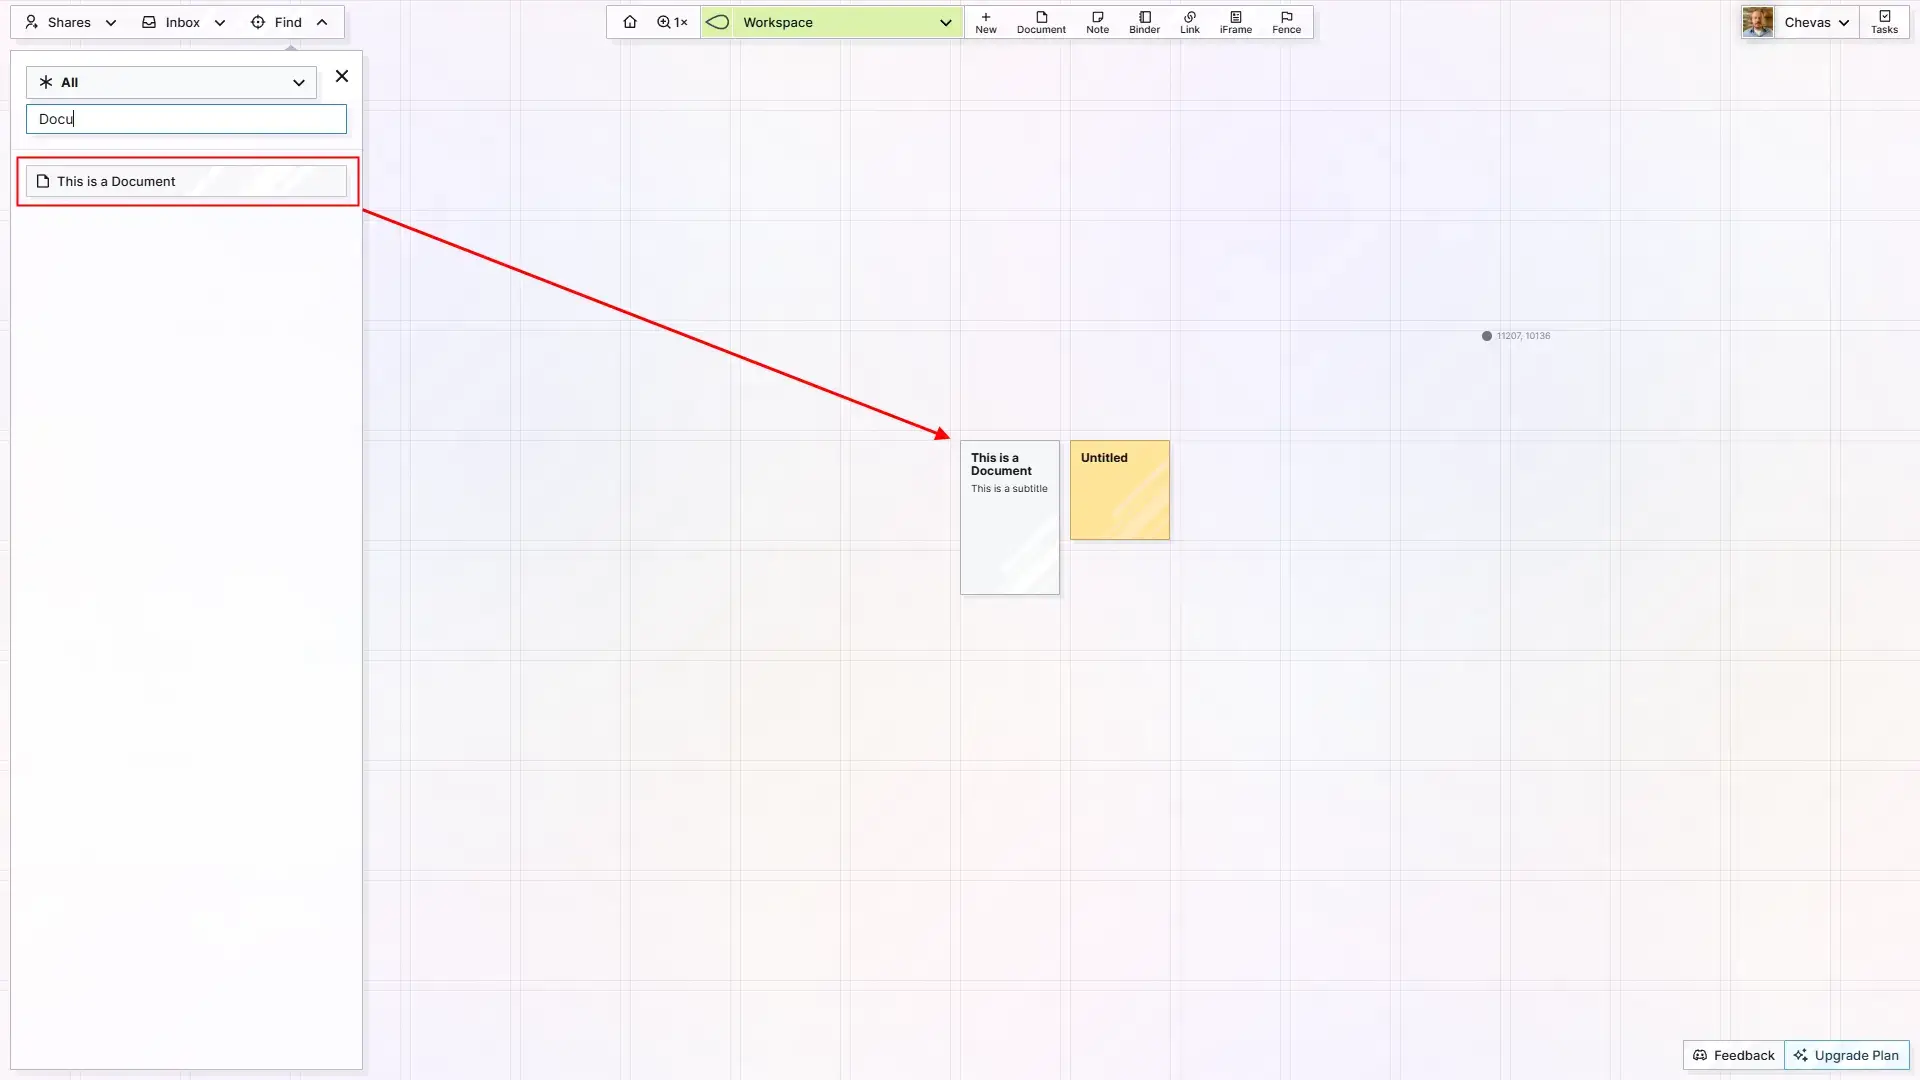
Important: If the item is inside of a binder, the workspace will center on the binder. Be mindful of this if you are searching for items within a binder.
Your mileage may vary on this, but personally, I use the Find tool maybe once every two months. This is not an exaggeration. And 90% of the time it’s because I stored an item in a Binder (which hides it out of sight) prematurely. Out of sight, out of mind.
Which is why I highly recommend that only content that is truly no longer used (archivable) OR content that is very repititive (weekly call notes for example) should be placed in Binders, but more on that later.