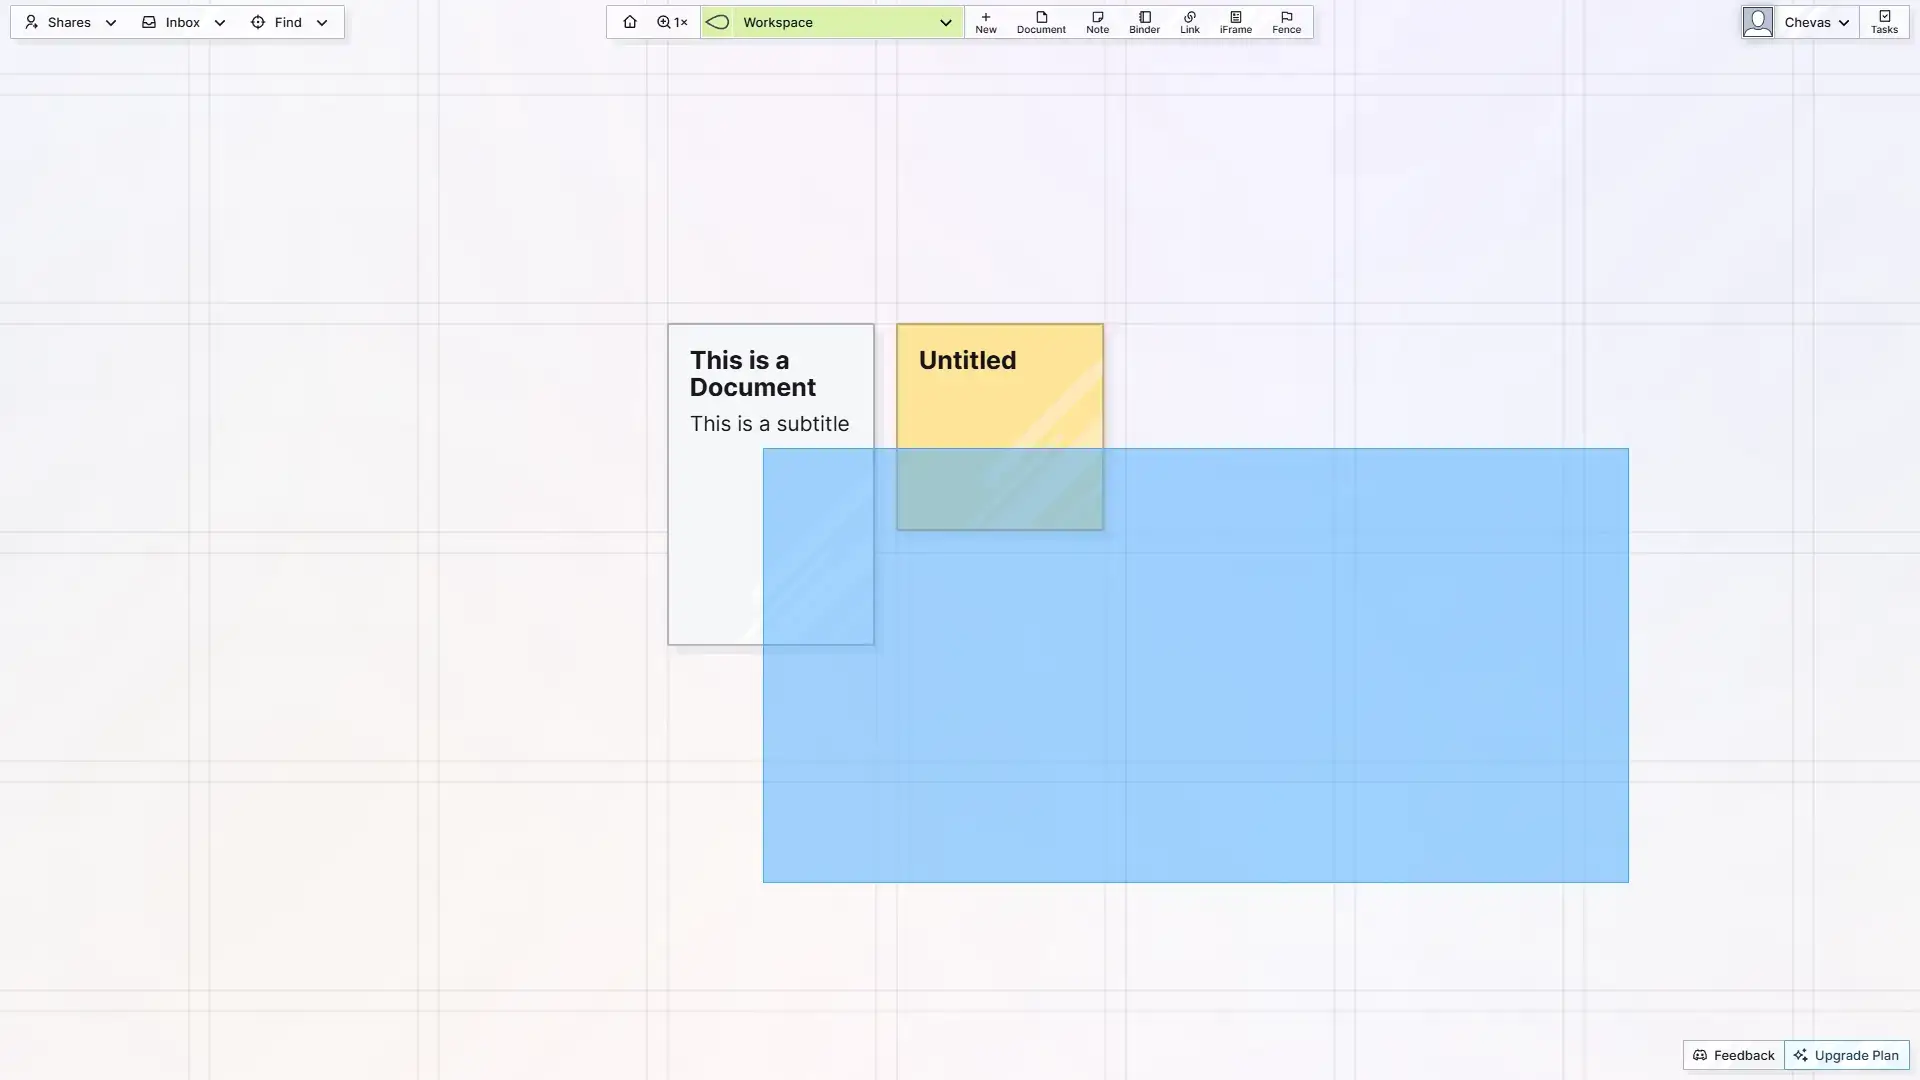
The Basics of Moving and Opening Items
Click (or tap) and hold to drag items around. The experience is intuitive and fun.
A single click or quick tap on any item will open the page view of that item. Editing content on the page views will be handled in subsequent help docs.
If you click anywhere on the workspace where there is no item, you will see the coordinate indicator:
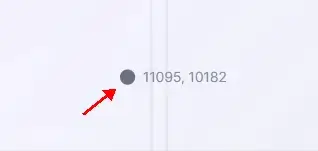
The coordinate indicator is there to give you a sense of where you are on the grid. The grid is 20,000 x 20,000 pixels. More about the grid will be covered later.
After dragging an item and moving it, when you release your mouse button or lift your finger, you’ll notice a blue border appear momentarily around the item. If you click too quickly on the item while the border is visible (trying to open the page view of the item), you will instead position the coordinate indicator on top of the item, like this:
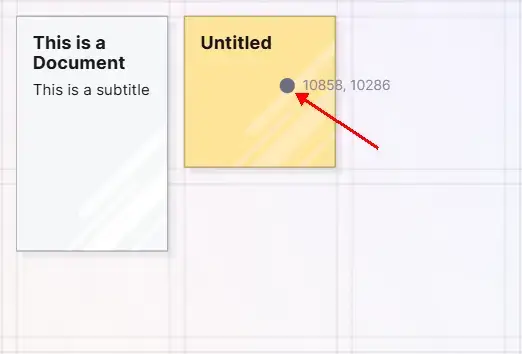
You actually have to be pretty fast to make this happen and still, it rarely occurs, but this is something to be aware of. Simply click the item again to open it. The blue border is indicating the snapping logic is calculating.
The Basics of Positioning Items
Here are a few basics to be aware of:
- Each square on the workspace is 100×100 pixels (at 100% zoom).
- Each gutter (the space between each square) is 10px wide.
- Items will snap to the grid in increments of 10px. The goal here is that you can line the items up with the grid lines.
- If you zoom in or out, then drag items around, the system knows your current zoom state and items will still be able to snap to the lines of the grid. Panning and Zooming are covered in the next help doc.
The faint grid lines and snapping allow you to align all your content in a crisp, organized way.
Moving Multiple Items at Once
If you have access to a mouse cursor (desktop or laptop), then you can select multiple items at once. As of now, selecting multiple items at once is not available on touch-only devices (tablets or phones).
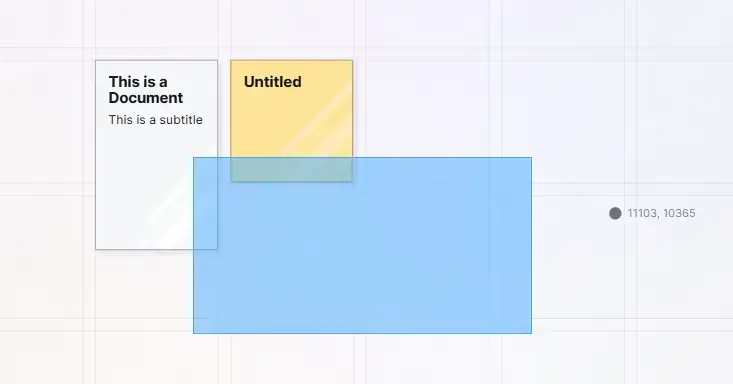
Click and drag to draw a box around the two items you have:
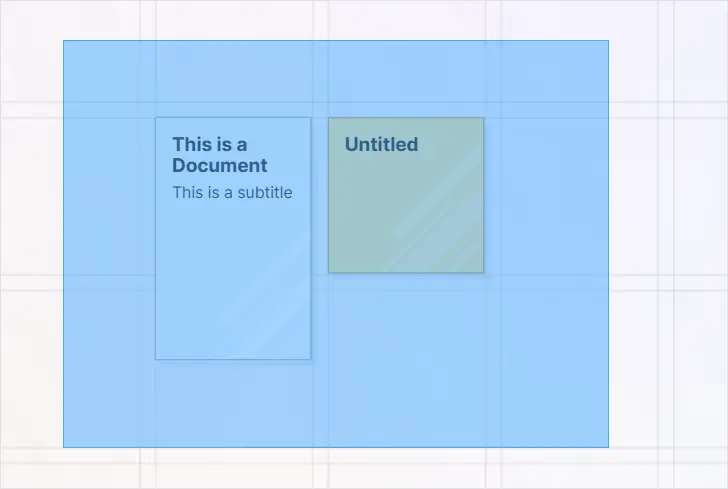
When you release the mouse button, you will notice blue borders around each individual item as well as one large border around all selected items:

Important: You do NOT have to draw a box around every item. The selection box will select any and every item that it touches. This selection pattern will also select both items:
It’s important to be aware of how selecting multiple items functions, especially when you have lots of items.
Note: You may also SHIFT+Click to select multiple items.
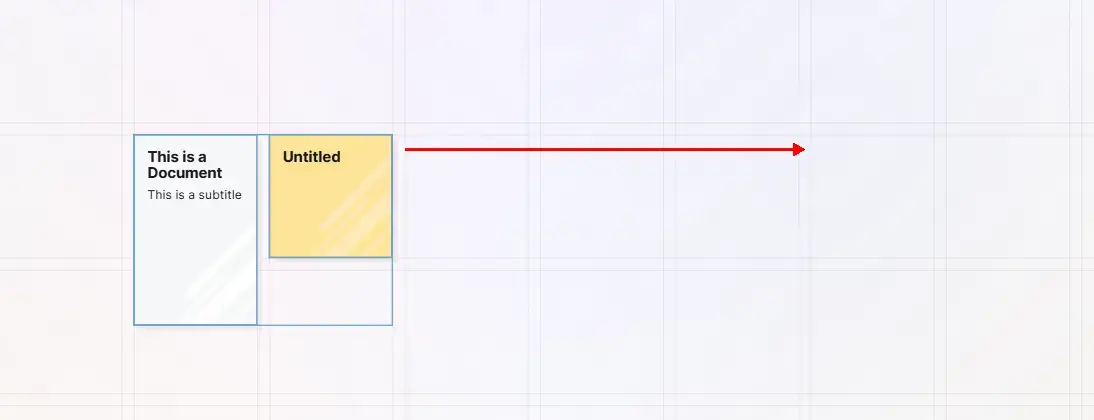
Once you have multiple items selected, click and hold anywhere inside the larger blue border (even if it’s not directly over one of its contained items, though that works too), and then drag the group of items where you want:
You will notice that as you drag a group of items, there is less smoothness in the animation. This is to conserve resources when moving large groups of items. If you move a single item, you’ll notice the animation remains smooth.
Important: after you have positioned your group of items, click anywhere on the workspace outside of the larger blue border, and not on another item, to deselect the group. You can also activate panning (covered next) to deselect the group. If you don’t deselect the group, you may find yourself moving the group again unintentionally.
In the next help doc, we’ll cover more details about manipulating items on the workspace and navigation.
Toggle Page Width
For when you want a specific item to take up the full width of your screem, click the 3-dot icon at the top of the page view of an open item and then select Toggle Width:
The item will now display at full width:
Each item’s width state is remembered, so if you make an item wide, close it, then come back to it later, it will remain as you left it.
For items that are mostly comprised of text, it’s recommended not to toggle the width to full on since it’s more difficult to read the text. But for table data and embedded images, it can be useful. More on this later.
Archiving and Deleting Items
Currently, there is no method to Trash or Archive items. This means that once an item is deleted, it is gone for good and there’s no way to retrieve it. We have plans to implement Trash and Archive features, but for now we recommend using a Binder to archive content.
Deleting Items
As of now, items must be deleted one-by-one, unless the entire workspace is deleted. We are actively working on a new, faster grid system which will enable selecting multiple items and using the delete key to delete items.
Open the item you wish to delete.
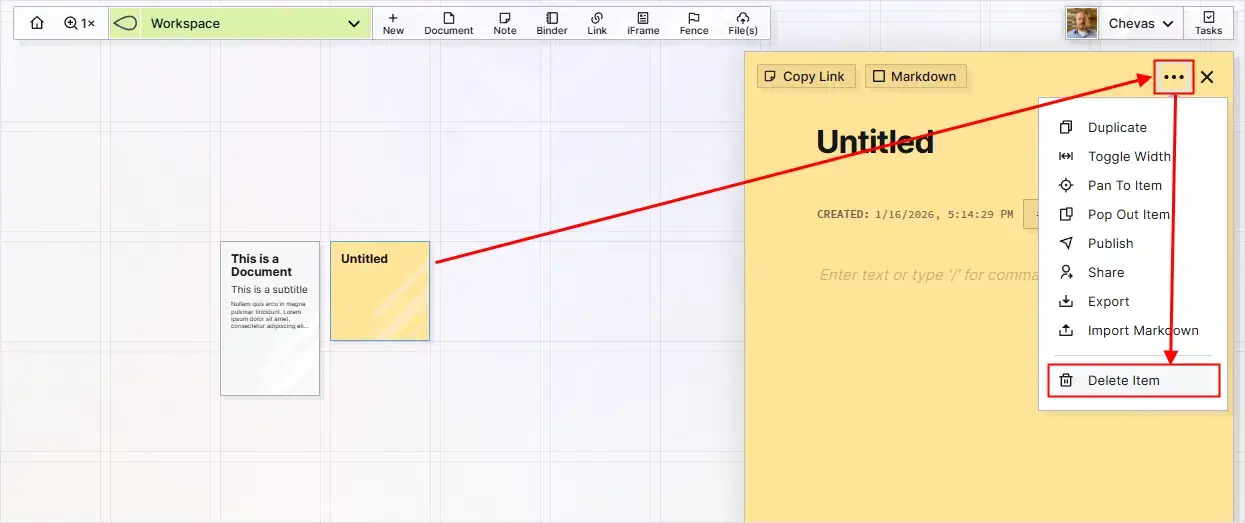
Click the 3-dot icon at the top right of the page view of the item.
Click the Delete Item Option
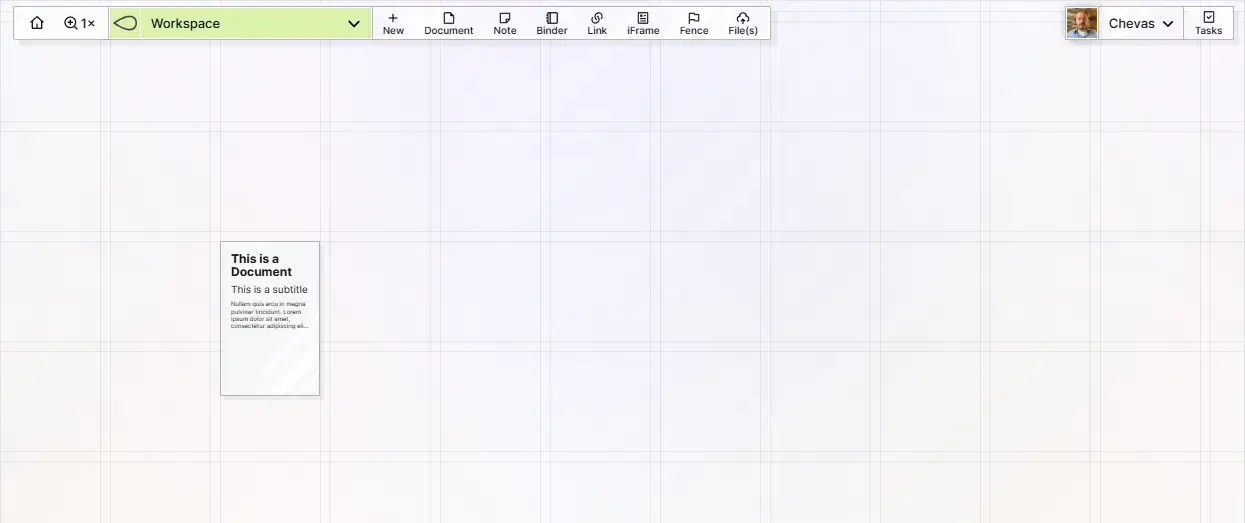
The item’s page view will be closed and the item will be removed from the Workspace.